As part of my Dave Ramsey Total Money Makeover, I have been living on a restricted grocery budget these past few months as I work through my debt snowball in baby step 2. I’ve been making a strong effort to not eat out as much (and to do so inexpensively when I do), as well as trying to fix more meals at home. This also means Whole Foods, Trader Joe’s and Stop and Shop have been replaced with Aldi, farm stands, and homemade. I still hit up Highland Park Market on occasion as they tend to have really good sales. They are also one of the few places around here with a meat counter, which makes it easier to only buy the amount that I need, thus saving money and waste. Had fun staying in and trying few new recipes this past week.
Homemade Pita and Carrot Hummus
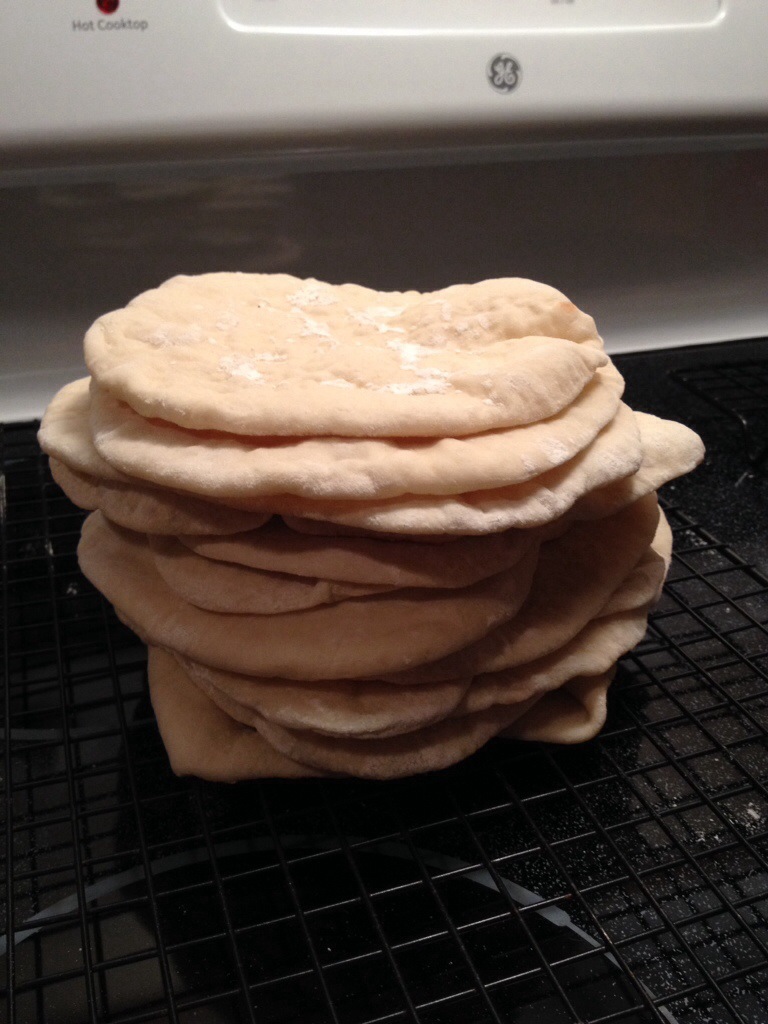
Used the Pita Bread Recipe from the Joy of Cooking. Thanks for sharing this recipe Jack, these were really fun to make, and not nearly as difficult as I had imagined. While they tasted great, my technique could use some work as very few of them came out circular. Will also try mixing in whole wheat flour next time.
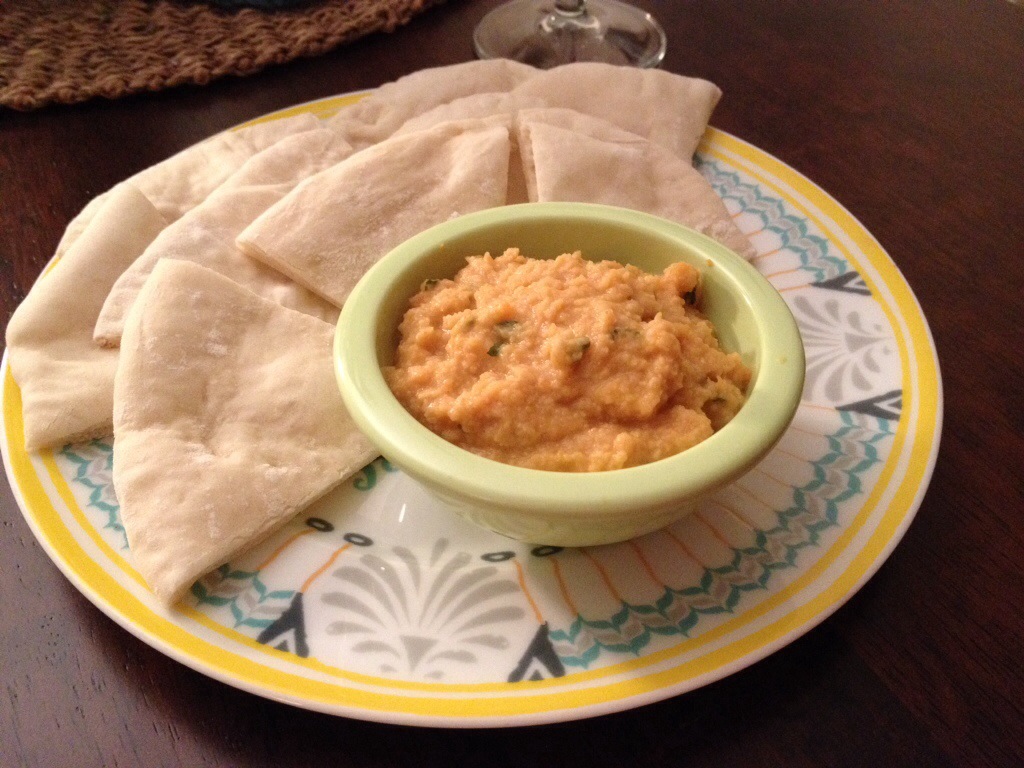
I started with this very basic hummus recipe and then made the rest up as I went along. After trying different hummus combinations at The Station restaurant at Overlook Farm in Clarksville, MO over the holidays, I am looking forward to making other variations this spring.
Carrot Hummus Recipe:
6 large carrots, washed, peeled, and diced
1/2 of a medium onion, sliced
1 can garbanzo beans, drained
1/3 cup olive oil
2 tbsp lemon juice
1 1/2 tsp ground cummin
2 garlic cloves, minced
Parsley
1. Place carrots in a saucepan with steamer basket, with onion slices on top. Steam for 10 minutes. Reserve any remaining liquid.
2. Place carrots, onions, garbanzo beans, olive oil, lemon juice, cumin and garlic in a food processor. Process until smooth. Add remaining water from carrots if needed to thin.
3. Stir in parsley and additional seasoning to taste.
4. Enjoy with homemade pita sliced into wedges!
Cheddar, Apple & Chive Brioche Rolls with Cowboy Chili
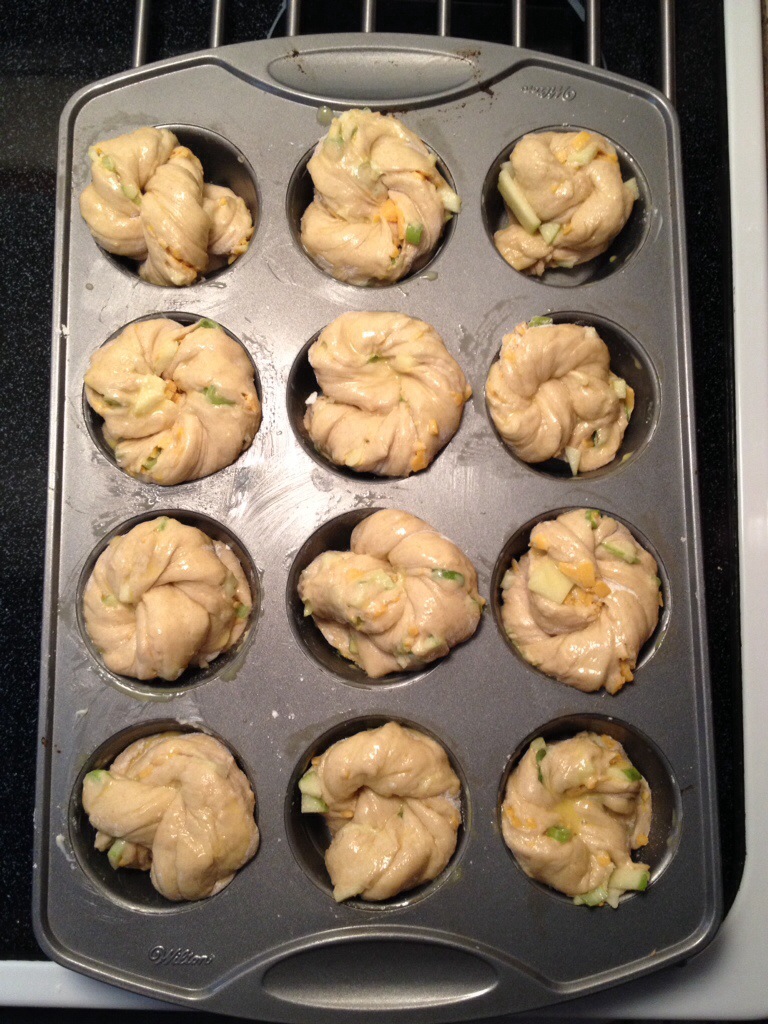
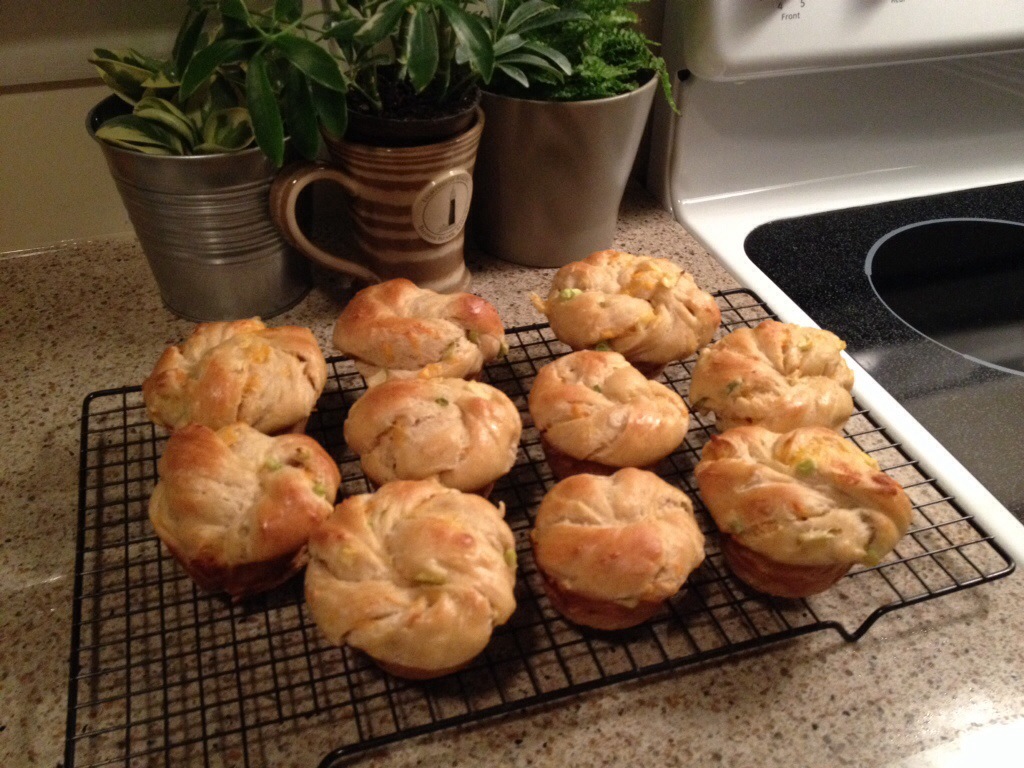
My newest obsession is brioche, love the sweet bread combined with savory mix-ins! Since it’s too expensive to buy from the bakery on a regular basis, I figured I would give it a whirl at home. It really wasn’t difficult, but does require a lot of time to rise at various points. I made cheddar, apple, chive brioche rolls today. Love the combo, but my dough could be sweeter and I need to increase the amount of mix-ins. Will post the recipe once I get it closer to what I had imagined. In the meantime, here are a few photos.
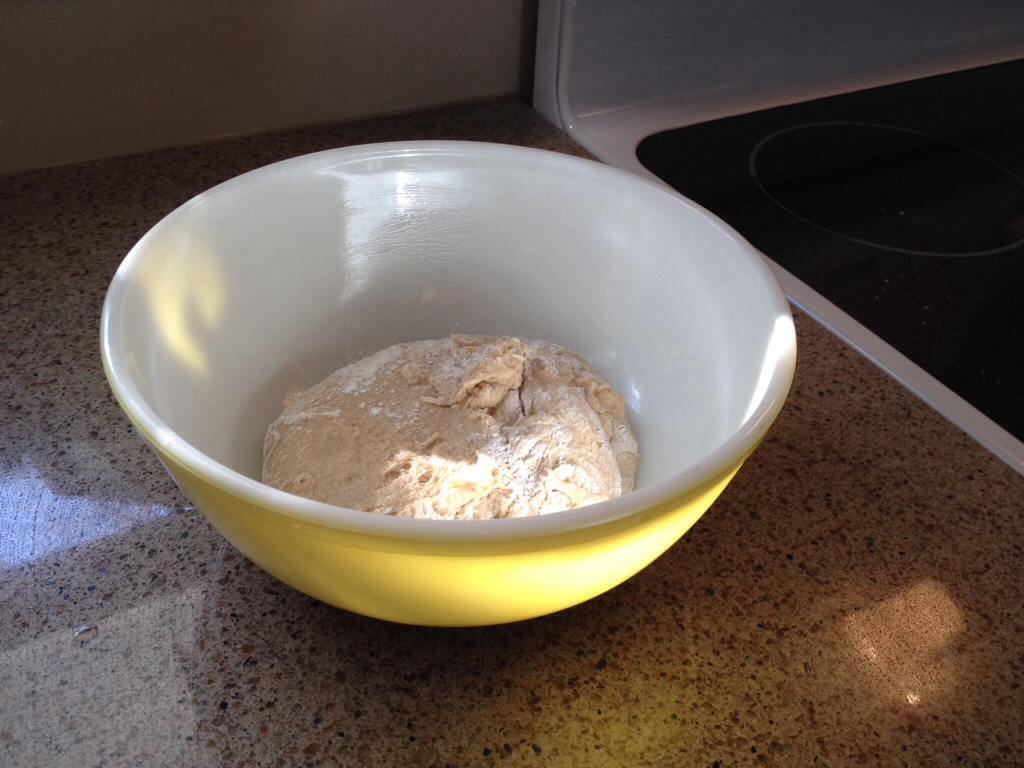
Like my new Pyrex yellow bowl!? I have recently fallen in love with mid-century housewares; vintage pyrex, fire-king, and jade-ite have stolen my heart. Thankfully, I’ve been able to score a few great finds at goodwill and antique shops at home, as my decorating/housewares budget is ridiculously small these days. Mom and Dad have also been keeping an eye out auctions, keeping my fingers crossed for some steals this summer 🙂
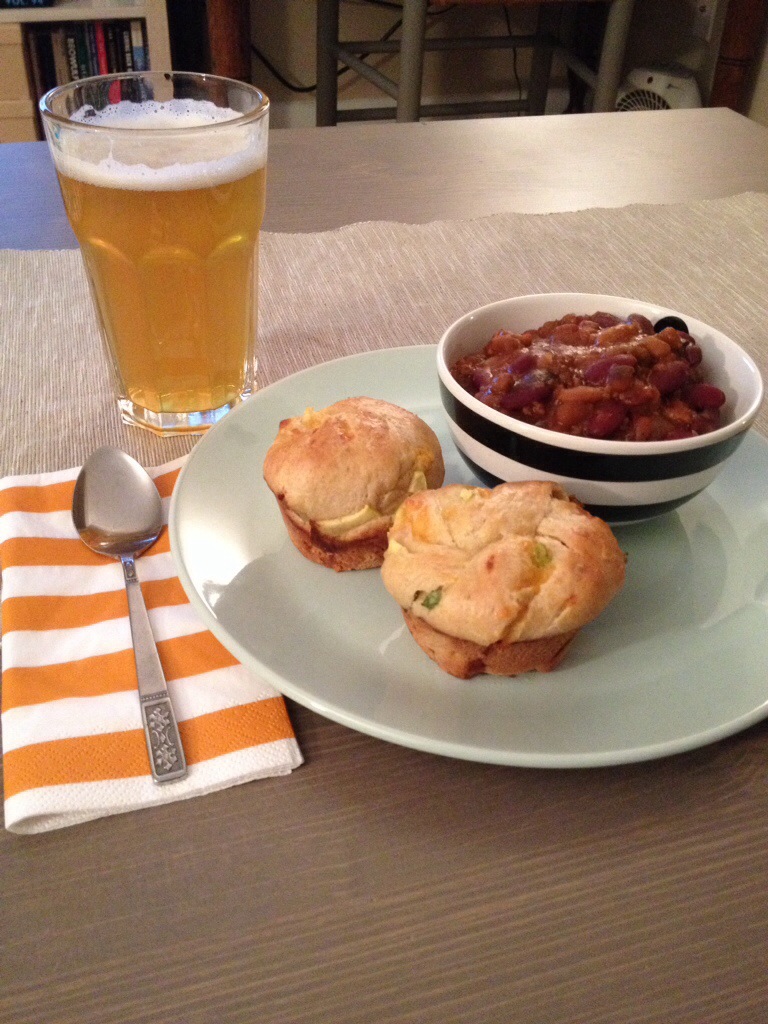
 Enjoyed the brioche rolls with Cowboy Chili, a nice and hearty recipe for my DR beans & rice budget. Also a great crock pot classic for cooler days.
Cowboy Chili Recipe:
1/2 lb ground beef
1/2 lb bacon, sliced into 1/2 in pieces
1/2 medium onion, diced
2 cans pork and beans1 can kidney beans
1 can baby butter beans
1 cup ketchup
1 tbps liquid smoke
3 tbps white vinegar
1/4 cup brown sugar
salt & pepper to taste
1. Brown and drain ground beef. Fry bacon and onions, drain.
2. Combine all ingredients in a crock pot.
3. Cook for 3 hours on high, or 8 hours on low.
Since I’ve still got a very long way to go on my debt snowball (tons of student loans), my goal is to start sharing other kicked up DR beans & rice recipes (i.e. budget friendly meals for the foodie palate). Hoping it will help to keep me motivated and accountable along this journey, as it is likely going to be a long one :-), and that others might also find it helpful. For any one out there feeling in need of financial freedom, I highly recommend Dave Ramsey‘s programs, books, and radio show.
Other photos/ramblings from the weekend…
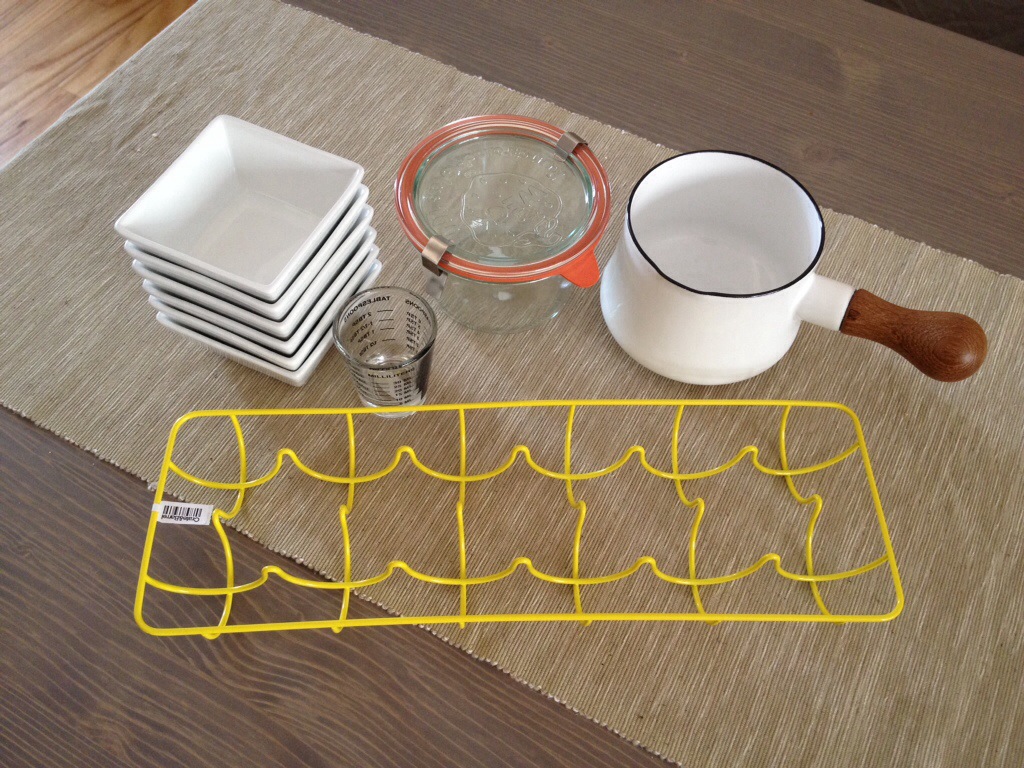
Had fun shopping with my birthday money at Crate & Barrel on Saturday, picked up a few new kitchen essentials (thanks Aunt Jan)!
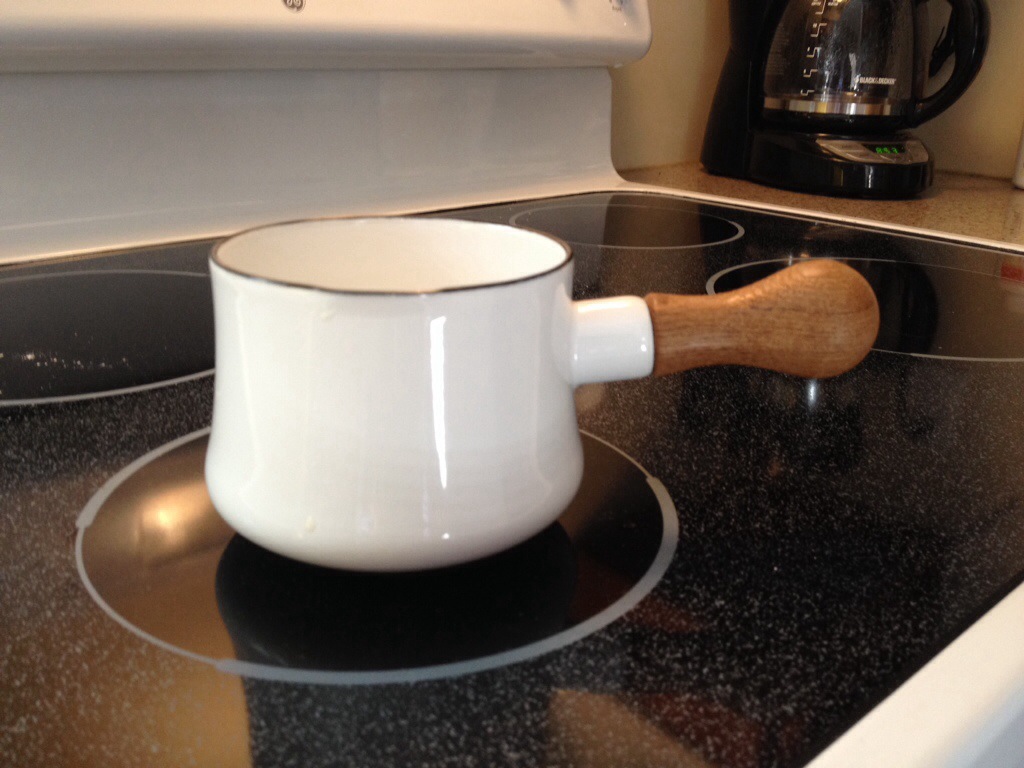
Finally found a butter pot! And it came with a nice little discount since it was the last one in white and was missing a box…didn’t know C&B did that, but I’ll take it! When I moved into my current apartment, it didn’t have a microwave. Rather than buy another appliance to clutter up my small kitchen, I just found ways to live without one (read: plan ahead, use the oven and stove), except for melting butter. My saucepans are too big, most of it would just coat the bottom of the pan, and I kept burning myself trying to melt it in a cup or bowl in the oven. This little gem has already been a lifesaver.
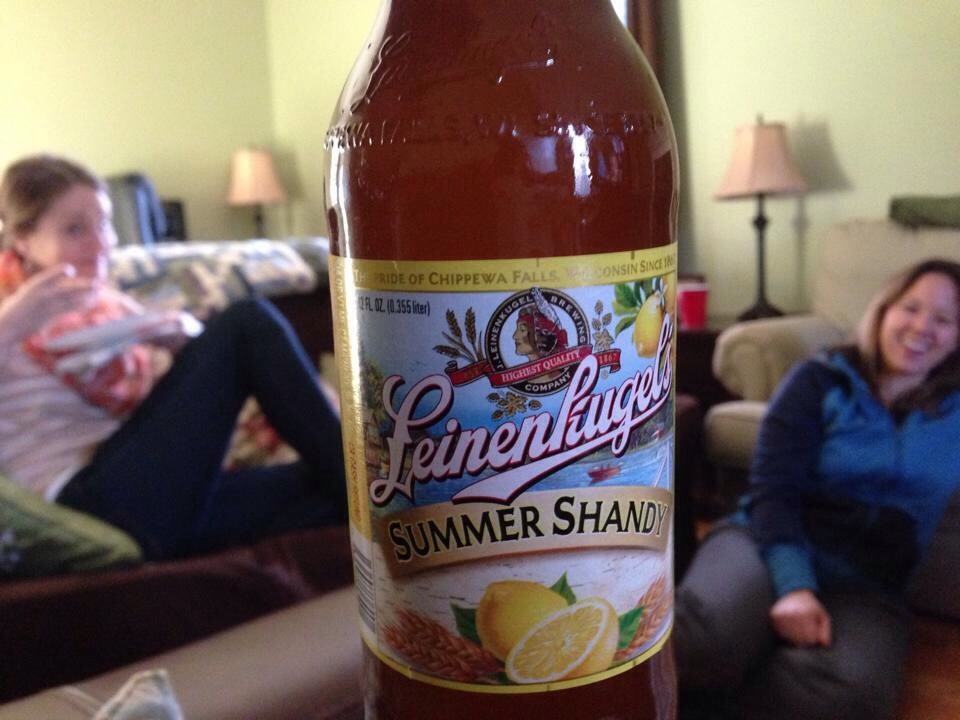
Warm weather is around the corner, Summer Shandy has officially hit the shelves. Saturday evening movie night, junk food, and Summer Shandy with friends!
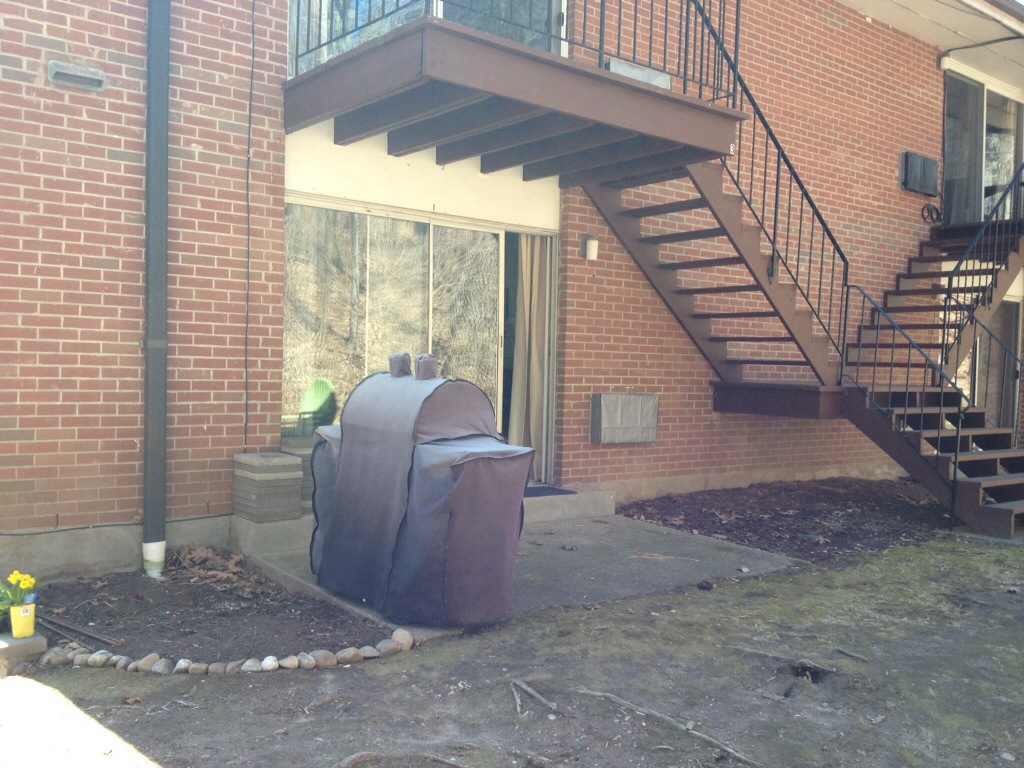
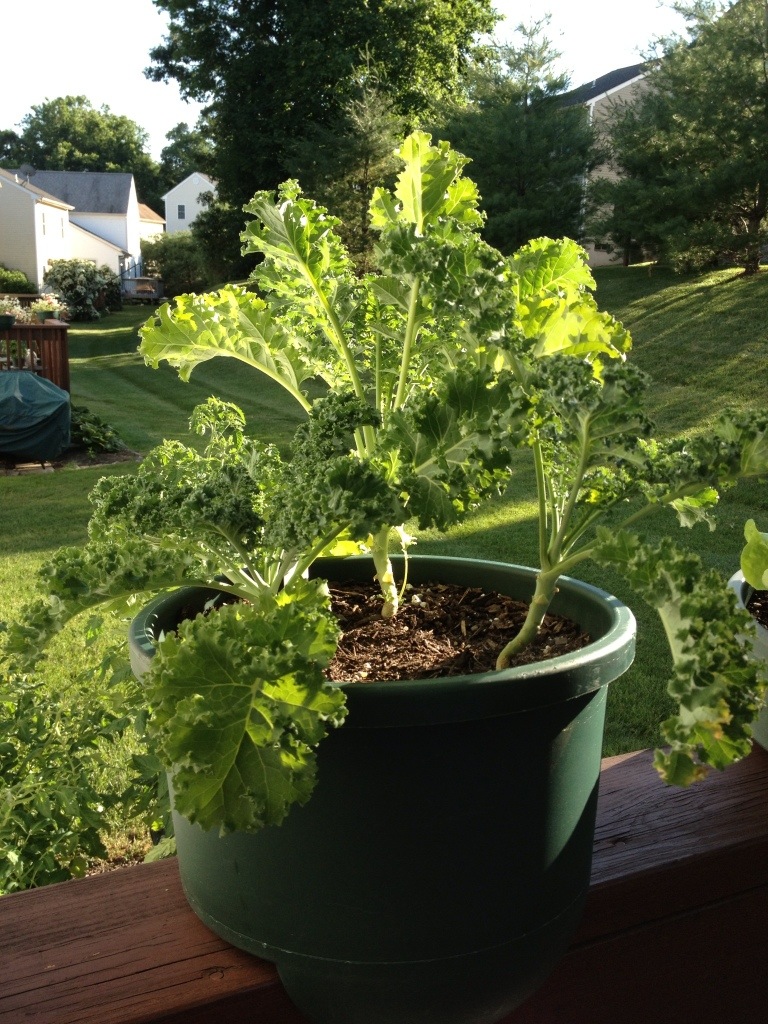
Planning my spring garden and trying to figure out what to do with my little slice of outdoor space. What do you think of the stone border so far? Trying to figure out a way to do borders on the cheap or free, but that also look nice. Pinterest has failed so far. I found those rocks in the yard, and there are many more, it’s New England…
Have a good week.
Love,
Dora